

We’ve been wanting to convert our RV to a lithium power supply for quite some time. If you are like us and this is on your list of things to do, read on to find out how we did it, and what we recommend for those who are interested in making the switch.
Table of Contents
Why Lithium
Lithium batteries offer numerous advantages over the conventional lead acid batteries that are typically provided by the RV industry. Chances are when you bought your RV it came with a deep cycle lead acid battery, which looks very similar to the one you can find under the hood of a car. While lead acid batteries certainly have a couple of advantages, like lower cost and being readily available, the advantages of lithium far outweigh those. Check out these advantages lithium batteries over their lead acid counterparts…
Lighter
| Lithium | Lead Acid |
| 1. Much lighter 2. A 100 AH lithium battery from Ampere Time weighs only 24lbs! 3. The 200AH Ampere Time battery we used weighs in at 45lbs | 1. Much heavier 2. Our former 100 AH Lead acid batteries weighed 65lb each 3. We used 2 of these batteries for a total of 130lbs |
Cleaner
| Lithium | Lead Acid |
| 1.Completely Sealed 2. No gas discharge means they can be stored anywhere, even inside the RV ! | 1.The chemical reaction inside the battery can produce hydrogen sulfide gas, which must be vented from the battery 2.This gas is poisonous, flammable, and has a caustic odor 3. Must be stored outside or in a ventilated compartment |
Maintenance Free
| Lithium | Lead Acid |
| 1. Completely sealed, so there is nothing that must be done to maintain the battery 2. Safe for long-term storage without needing to be charged (our Ampere Time battery is recommended to be stored at 30%-50% charge for long term storage) | 1. Vented battery means that the acid inside can evaporate and leave the battery during times of hot ambient temperature 2. Requires periodic checks to acid level and addition of distilled water when levels are low 3. Should be stored with a proper load charger attached to maintain battery charge |
More Usable Energy
| Lithium | Lead Acid |
| 1. Our Ampere Time battery offers 100% depth of discharge (DOD) 2. This means our 100 AH battery can deliver all 100 amp hours of energy without causing any damage to the battery | 1. Lead acid batteries are only recommended to be used to 50% depth of discharge 2. This means a 100AH lead acid battery can only deliver 50AH without causing damage to the battery 3. If discharged below 50% permanent damage is done to lead acid batteries, reducing their charging capacity |
Reliability
| Lithium | Lead Acid |
| 1. Our Ampere Time lithium battery contains grade A lithium cells 2. This allows it to be charged/discharged 4,000 times and still perform at peak levels! 3.Our Ampere Time lithium battery comes with a 5-year warranty | 1. Lead Acid battery reliability is directly related to the quality of the manufacturer and how stringently the end user follows maintenance and depth of discharge guidelines 2. In our experience with deep cycle lead acid batteries, we find a noticeable decrease in performance after approximately 2 years 3. Most lead acid batteries offer only a 1 to 2 year warranty |
Steady Voltage
| Lithium | Lead Acid |
| 1. Lithium batteries provide a nearly the same voltage until they are completely drained. 2. Our Ampere Time lithium battery only varies from 3. This steady voltage helps our 12V electrical components run more efficiently | 1. Lead Acid batteries predictably loose voltage as battery capacity decreases 2. voltage varies from 12.6V when fully charged to 10.5V when completely discharged 3. This voltage drop can create increased strain on 12V electrical components and can actually lead to premature failure |
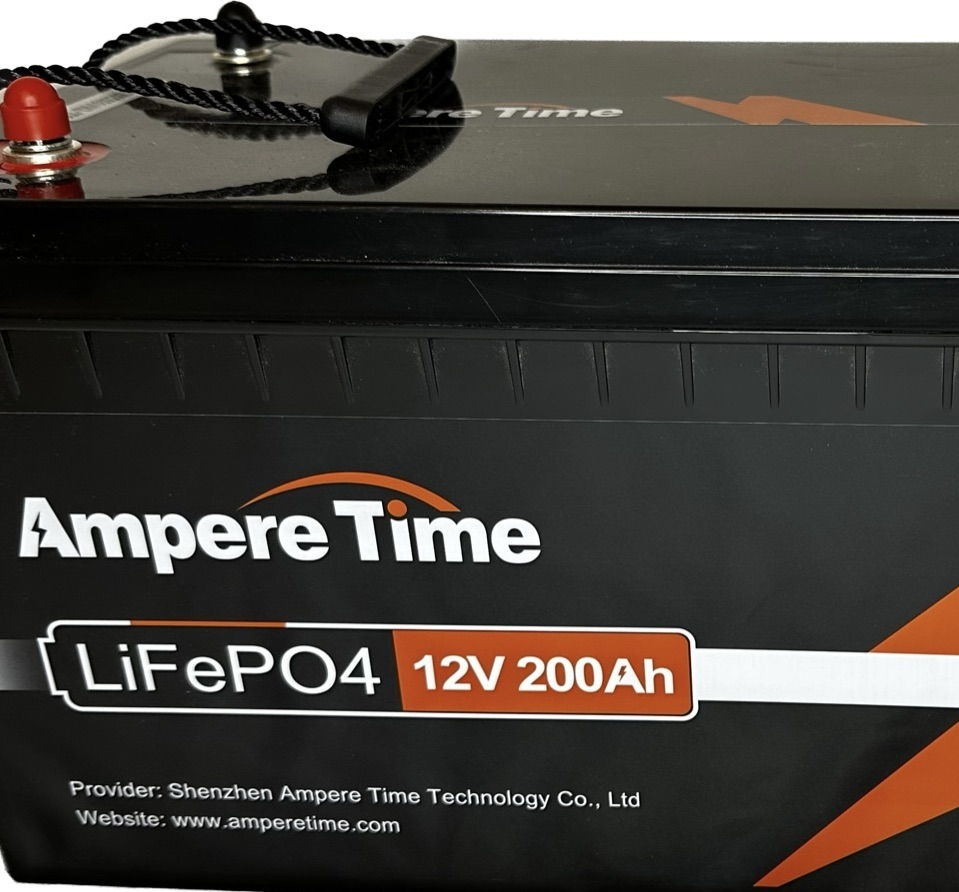
Our Lithium Battery From Ampere Time
First, let me offer a big thank you to the folks at Ampere Time for sponsoring us and sending us a 208H 12V battery to use and review. This battery has exceeded our expectations in design, construction, and performance. Let me tell you a few things that I really like about this battery…
- Cleaner – no gas venting
- Sealed – IP65 Waterproof rating
- Maintenance Free
- Light Weight – only 45 lbs
- 100% depth of discharge
- 24/7 customer support
- 5-year warranty
- Fast & Free Shipping
- 100 amp BMS – means it can be charged or discharged at 100 amps continuous
- Can be connected in parallel or series as needed
Our battery arrived at our door less than one week after being shipped, and the shipping materials used were top notch. The battery was held securely by dense foam and operated perfectly right out of the box. In addition, impaired time was kind enough to include a 40 amp lithium charger which had our battery at 100% in less than two hours (they are shipped at approximately 50% charge for safety reasons). In fact, Ampere Time even offers this battery and charger as a bundle where you can get both and save money all at the same time.

Ampere Time is the number one seller of lithium batteries on Amazon, and has thousands of five-star reviews. I would encourage you to check them out for yourself using their direct link, Canadian link, or on their Amazon page. If you order directly from Ampere Time, you can rest assured that your shipping will be free and you can even save 3% on your entire order by using code MATT3.
Other Components
In order to make the conversion meet our camping needs, we decided to add a few more components to our powerhouse of a battery.
DC to DC Charge Controller from Renogy
This device allows us to charge our lithium battery efficiently on driving down the road, by harnessing power of the heavy duty alternator found in our tow vehicle. I have to confess, it took quite a bit of wiring to get this device connected and working but on the few trips we’ve taken so far it has been worth it’s weight in gold. Now, I can run our 12V RV refrigerator on high and still arrive at our campsite with a completely charged battery even after a full day of driving.

In order to get this thing wired in, we ran a set of 2AWG cables run from the battery in the front all the way to the rear bumper of the truck. Next, we ran the same set of cables from the tongue of our RV trailer to the inside battery compartment. This allows power from the truck alternator to be regulated, have the voltage adjusted and then be sent into the lithium battery to keep it charged while rolling down the road.
For us, this was a better fit than installing a large solar array. Comparatively speaking, the DC to DC charger was cheaper, easier to install, and since we rarely boondock for more than a day or two, it fits our lifestyle and needs.
Modified Sine Wave Inverter from Harbor Freight Tools

With our style of camping, this inverter will see pretty light use. It will be nice to keep our outdoor kitchen fridge running while driving or boondocking, and of course charging devices or watching TV while of grid will be a nice bonus too. Since it will be used sparingly, we thought a modified sine wave inverter would suit or needs just fine and save us money on the purchase as well.
The Install
So, there’s no hard and fast rule on where you have to locate the components for your lithium conversion but we chose to locate them all together in one compartment inside the RV. This allowed to accomplish several key things:
- Shorter cable runs – When dealing with DC power, longer cable runs typically result in voltage drop. Keeping all the components near each other helps eliminate that problem.
- More Protection – Lithium battery install can be as easy as dropping the new battery in the same location as your old battery, making the normal connections and calling it a day. But with the cost of lithium, we felt better adding an extra layer of protection from theft by keeping it inside the RV.
- Temperature controlled – Lithium batteries can be a little picky when it comes to temperature. Usually they are fine when being discharged and can tolerate temperatures well below freezing. But when charging, they need to be above freezing at all times. In fact, charging a lithium battery at below freezing temperatures will cause permanent damage. So, by keeping the battery inside we can better regulate the charging (and discharging) temperature to help protect our lithium powerhouse.
Basically, the (+) and (-) cables coming from the battery both run to separate bus bars and the components all connect independently to those corresponding bus bars. Finally, the (+) bus is wired to the RV 12V distribution block, and the (-) buss is grounded to the RV frame.
Conclusion
Hopefully this setup will serve our needs nicely, and we’ll be reporting back just how well it performs as time goes by. One thing you may have noticed….we didn’t address the onboard RV converter. This device converts AC power (shore power) when plugged into a pedestal at a campground to DC power that then charges the battery.
Our converter is “lithium safe” meaning it won’t damage lithium batteries, however it is not designed to fully charge lithium. Our converter was designed for lead acid batteries so it does not possess the ideal charging profile for lithium. From the research I’ve done, this means our converter will only charge our lithium battery to approximately 60% of its capacity. I’d like to test this for myself, so I’ve elected to keep our current converter in place for now. Fortunately, the folks at Ampere Time also sent a 40A charger to go with our 200AH lithium battery. This charger has worked fantastically to charge our battery fully and rapidly. So, we’ll continue to use this for now to “top-off” our lithium charge when the RV is plugged in.
If you’re interested having the same lithium power that we hav installed, you can find the 200AH Ampere Time lithium battery here, the 40A charger here, or get them both as a bundle (and save money doing it) here.